

Natural, wild, homemade, easy-to-make grain-free sourdough starter (GF/V)! This step-by-step 7-day guide is simple to follow and is for all levels of gluten-free—and vegan—bread baking enthusiasts to try! This recipe is nut-free and allergen-friendly!


Grain-Free Sourdough Starter (GF/V)
When people transition to a gluten-free lifestyle it is possible that, at times, you will also want to experiment with going grain-free.
It’s always good to switch up the gluten-free/grain-free ingredients you consume. This gives your gut a break and can introduce a wider range of nutrients to your diet.
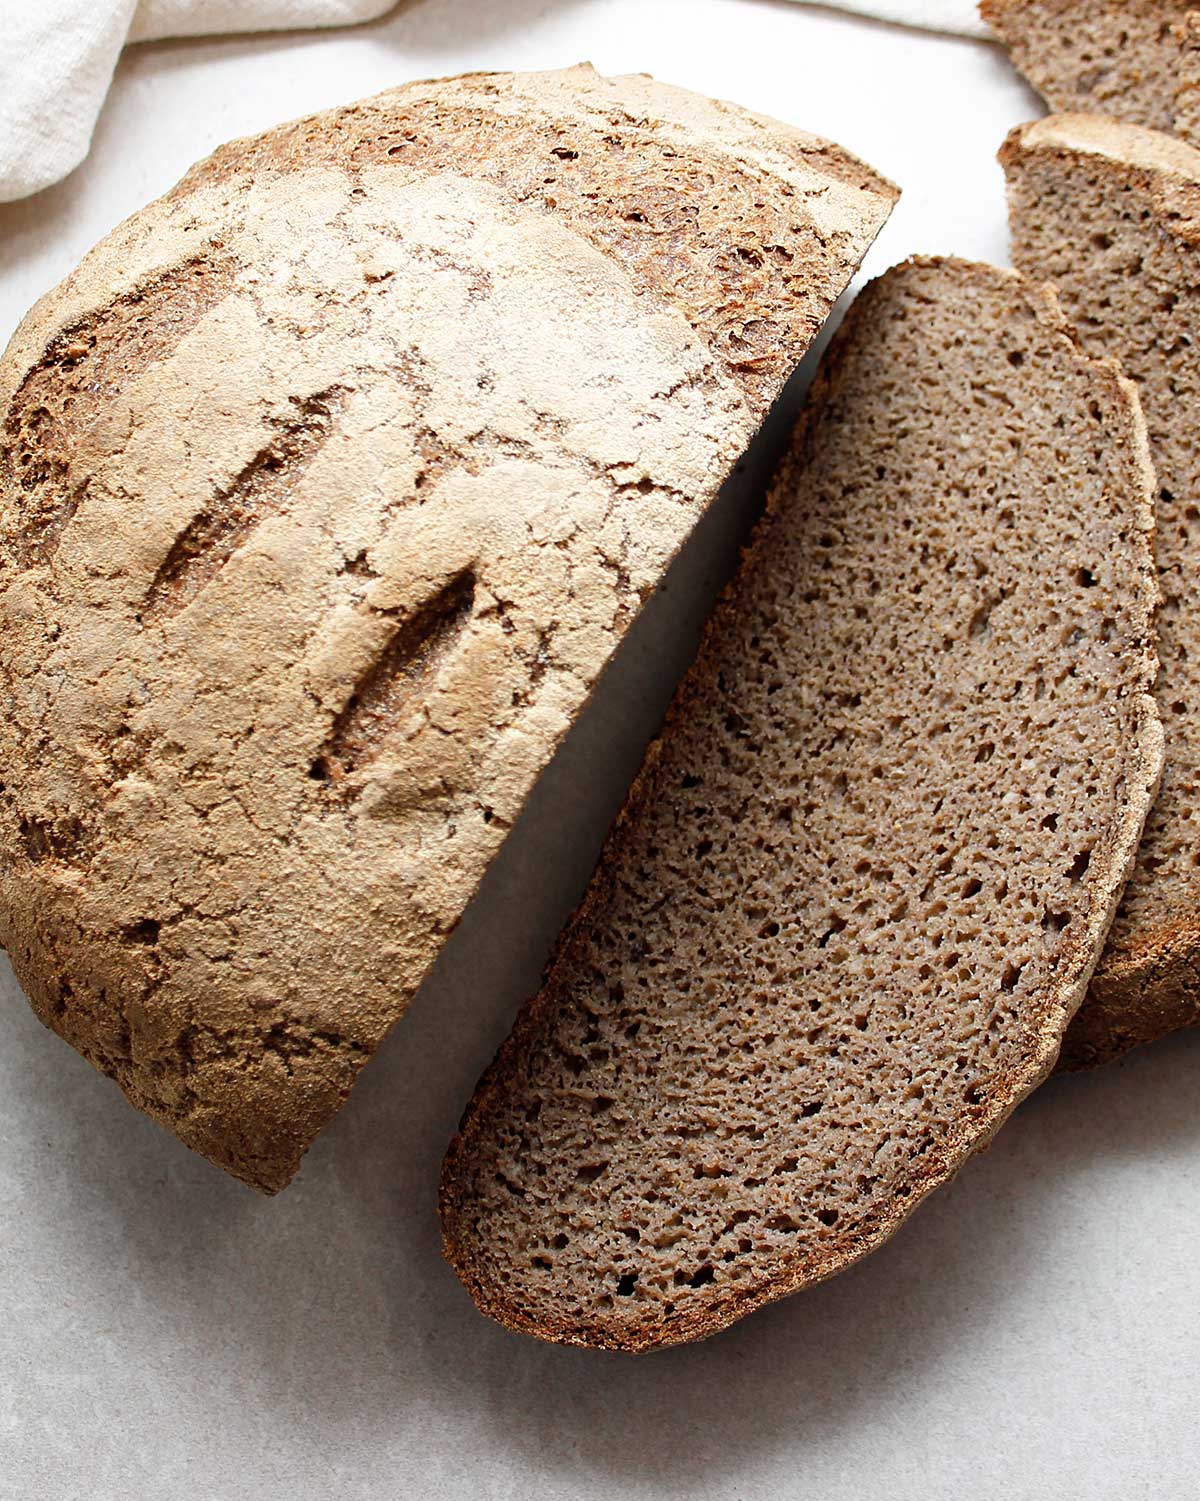
Creating a grain-free sourdough starter is fun and rewarding. Wait and see everything you can bake with your lively wild yeast sourdough starter. The Grain-Free Sourdough Pizza Crust recipe is a great one to try!

Ingredients For This Recipe
- 1-2 cups cassava flour* (Substitutions in recipe card notes at the bottom)
- 1 piece fresh pineapple, 1 x 2-in (organic if you can)** (Read notes in recipe card)
- Water (filtered or spring)
Tools to Make a Sourdough Starter
To make the starter, you will need the following:
- 1 glass jar (med/large)
- spoon
- chopstick (or wooden spoon)
- coffee filter (or breathable cloth cover)
- elastic (or string)
- small spatula (optional but useful)

Place 1 piece of pineapple to help boost the wild yeast activity.

If your pineapple is not submerged you can add more flour/water on Day 2.

How to Make a Grain-Free Sourdough Starter (GF/V)
The grain-free sourdough starter will take on average 7 days to make.
The step-by-step guide consists of mixing cassava flour (see notes for substitutions) with spring or filtered water and letting it transform, at room temperature, into wild natural yeast to use in baked recipes.
There is a key ingredient to help you boost your starter. In this recipe, I suggest placing a piece of fresh pineapple (organic if you can) for a couple of days.
On Day 3, you can remove the pineapple. It will give your starter the nicest sweet aroma, and it will also increase the activity in the mixture. Then you continue to follow the instructions for Days 3 to 7.
See the step-by-step guide in the recipe card at the end of this post.

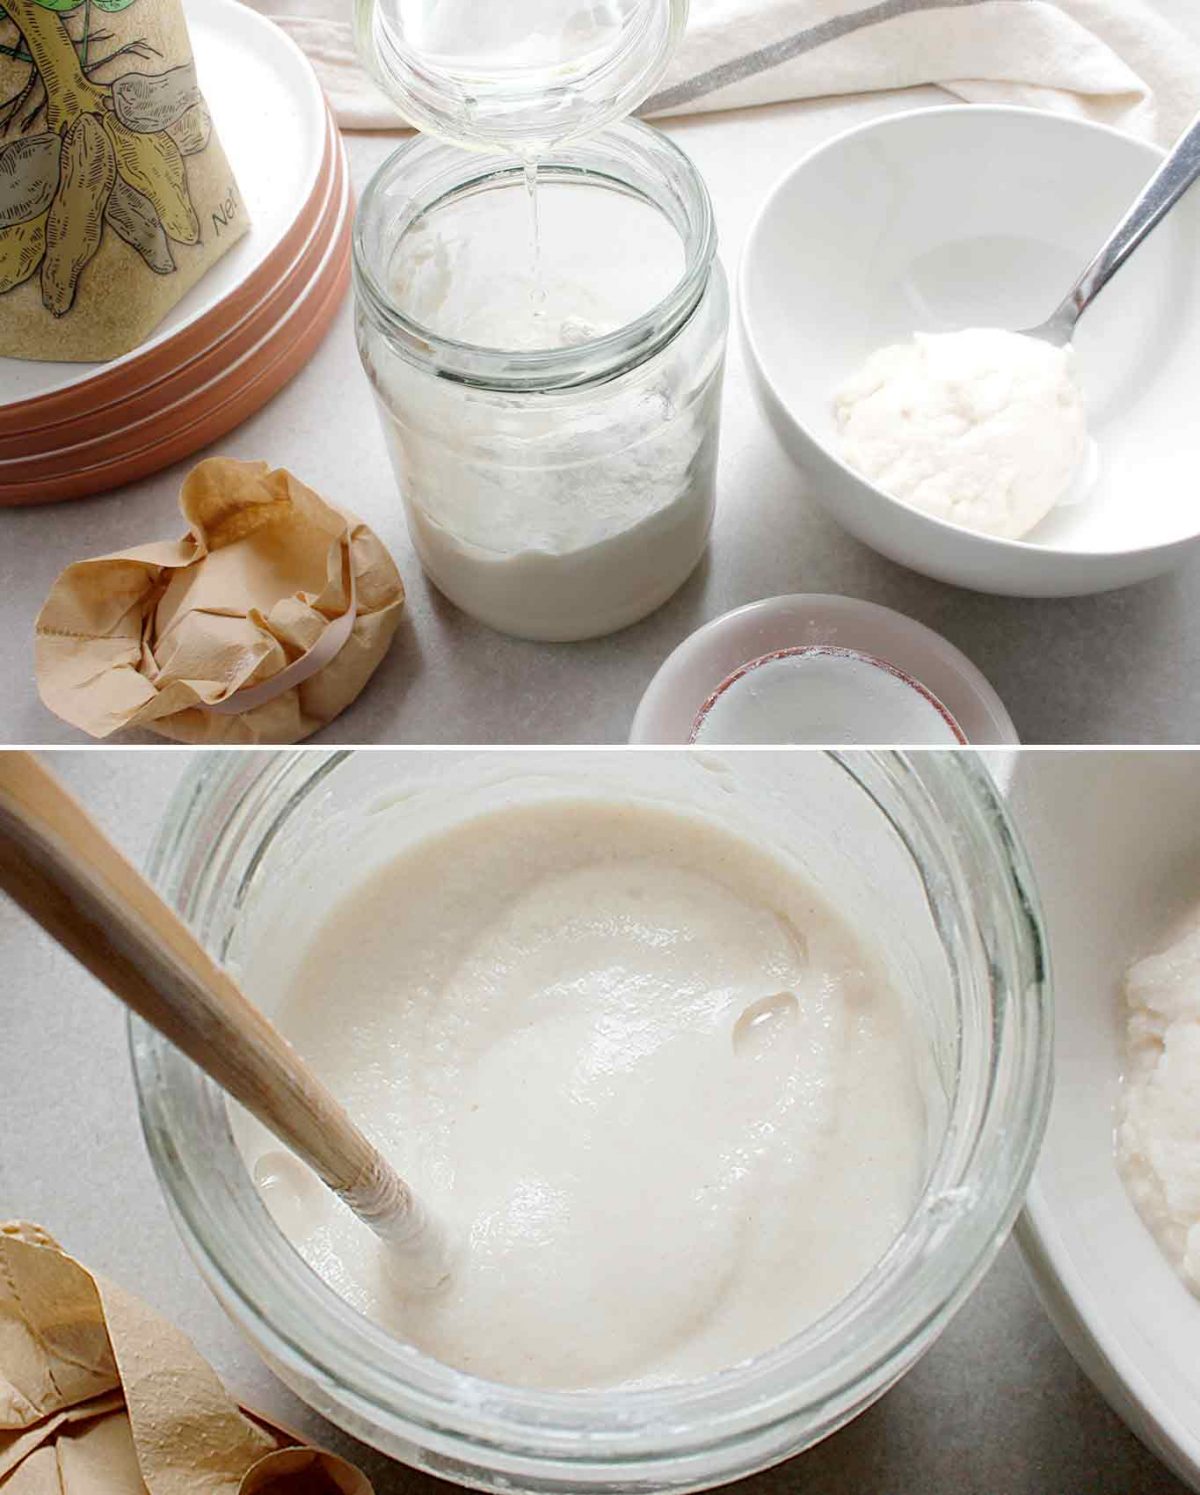
Pour in just enough water to stir and cover. See recipe for Day 4 notes.

What to Expect
After mixing the flour and water, you will hopefully enjoy the subtle but pleasant dough scent. The pineapple (or other fruit you add) will help transform the mixture into an incredible sweet-smelling starter with a mild yeasty aroma.
On the second day, you might see a few bubbles.
From day 3 to 7, you can expect the starter to be flat after a feeding which means that you need to give it more time to transform to yeast.
The spoonful of starter that you remove on days 5 and 6 can be kept in the fridge for later or use the discard in baked recipes (crackers, cookies, flatbread, pizza crust, pie crust).
By day 7, your starter should be ready or almost ready to use in a recipe. If you haven’t noticed any bubbles after one week, consider continuing for a few extra days.
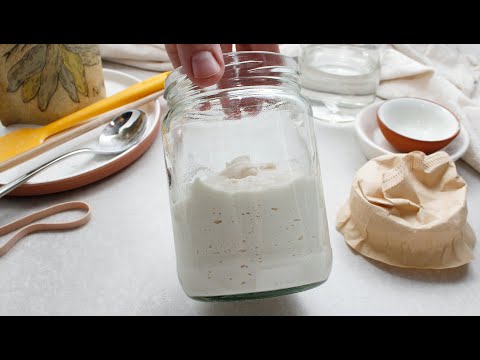
Once ready, the texture of the starter will be creamy, light and fluffy. You should hear popping activity if you move the starter with a soft spatula or chopstick, and it will smell sweet and yeasty.
Then feed it more cassava flour with water and give it another day to get nice and active.

You should hear popping activity if you move the starter with a soft spatula or chopstick.
Expert Tips
Once you have an active grain-free cassava sourdough starter, you can consider introducing another grain-free flour to the starter. It’s a great tip to know if you ever run out of cassava flour.
To keep your grain-free sourdough starter alive (once it’s ready), even if you store it in the fridge in between bakes, you will need to refresh/feed it at least once per 1 to 2 weeks, even if you don’t plan to bake with it.
Trust your nose. If it smells awful, your starter might be bad. It might be best to start over. If it doesn’t smell right, you most likely won’t want to bake with it. A good active starter should have a pleasant, yeasty and sweeter aroma.
If you notice mold, it safer to start the process over in a new jar.
For additional gluten-free sourdough starter tips, you can watch my GF sourdough starter videos on YouTube or visit the gluten-free sourdough recipes on Fresh is Real. A lot of the information is similar and can be applied when making a grain-free sourdough starter.
Recipe FAQs
I don’t have cassava flour, can I use another grain-free flour?
For this grain-free starter recipe, cassava flour was my grain-free flour of choice. You can try chickpea flour (or other legume flour), green banana flour, buckwheat flour, or even a combo of coconut/cassava/tigernut flour. It is important to note that if you decide to try something other than cassava flour, your timeline and outcome might differ.
I don’t have pineapple, can I use a different fruit?
If you don’t have fresh pineapple, consider trying a different piece of organic fruit. I like using pineapple because it works well. Examples of other fruits: apple, a few grapes, even a squeeze of lemon juice can help. If you have maple syrup, adding even one teaspoon could be an alternative. Doing so will boost the activity of your grain-free starter.
What am I doing wrong, my starter doesn’t have any bubbles?
When creating a new starter, whether gluten-free or grain-free, the process requires patience. Have fun with the process, take time to smell your starter to help you figure out what it needs. If there are no bubbles your starter might need more time to transform to wild yeast. If it smells very strong, consider removing a spoonful and feed it more flour with just enough water to stir. Then give it time to do what it needs to do. At times, fussing with it too much can also mess up the process.
More Grain-Free Recipes
- Grain-Free Sourdough Pizza Crust
- How to Make Grain-Free Bread
- Easy Grain-Free Banana Bread
- Grain-Free Pumpkin Bars
- Grain-Free Pumpkin Cookies
Check out the Grain-Free Plant-Based Guide for more information and ingredient inspiration.

Previous Grain-Free Recipe
How to Make Grain-Free Bread was the last grain-free and yeast-free recipe on the blog. The recipe was updated with some tips to help you convert the yeast-free version into a grain-free sourdough. Both options are wonderful. The details for the sourdough option are within the same post. It’s such a delicious, nutritious and gut-friendly bread recipe! I hope you give it a try!

Grain-Free Sourdough Pizza Crust
Once you have some grain-free sourdough starter (or discard), you should try the fantastic Grain-Free Sourdough Pizza Crust recipe! The toppings will be up to you, but you’ll love how quickly this dough recipe comes together!
Did You Make This Recipe?
Once you try this recipe, remember to take a picture and share it with us on Instagram Tag it @Freshisreal_ #freshisreal
Print
Grain-Free Sourdough Starter (GF/V)
- Prep Time: 15 mins
- Total Time: 7 days (mostly hands-off)
- Yield: 1–2 cups 1x
- Category: Breads
- Method: Fermentation
- Cuisine: Plant-Based, Gluten-Free, Vegan, Nut-Free, Allergen-Friendly
- Diet: Gluten Free
Description
This step-by-step beginner grain-free sourdough starter recipe will transform your baked goods into something even more magical and nutritious!
Ingredients
- 1–2 cups cassava flour* (Substitutions in notes)
- 1 piece fresh pineapple, 1 x 2-in (organic if you can)** (Read notes below)
- Water (filtered or spring)
Instructions
For this recipe, I simplified the instructions as much as possible to make it easier for you to try. Please have fun with the process! Your grain-free starter will need at least 7 days to transform into wild natural sourdough yeast.
To make the starter, you will need the following: 1 glass jar (med/large), large spoon, chopstick (or wooden spoon), coffee filter (or breathable cloth cover), a small soft spatula (optional but handy) and elastic (or string).
If you’ve never made a gluten-free sourdough starter or a grain-free one, consider watching the Easiest GF Sourdough Starter video to give you a general idea of what you can expect.
Day 1
To a clean jar, add 1 heaping spoonful of cassava flour (approx. 1/4 cup (32g) with just enough water to stir. Mix well. Place your piece of pineapple right in the middle, cover your jar with a coffee filter or thin piece of cloth and secure it with an elastic. Place in a warm area of your kitchen away from direct sunlight for 24 to 48 hours. TIP: Depending on the size of jar you have, you could consider increasing the flour to 1/2 cup or two heaping spoonfuls with just enough to stir if you want to submerge your pineapple piece. Doing so might work faster.
Day 2
Smell your mixture. If it smells nice, but there are no visible bubbles, leave it alone for another 12 to 24 hours. Ps. I often don’t feed mine on Day 2. It usually just needs more time. TIP: If your piece of pineapple is not completely submerged consider adding a bit more flour, water and stir.
Day 3
Your starter should smell a little sweet and mildly yeasty. At this point, you can remove the pineapple piece (or other fruit) and feed it a heaping spoonful of flour with just enough water to stir. Cover the starter jar and return it to a warm cozy spot in your kitchen.
Day 4
On the fourth day, you will have to judge if you should feed your starter or leave it alone for a little longer. I didn’t feed mine on Day 4 as it often needs a little more time. If yours smells good and but looks flat (not many bubbles), you can wait until tomorrow to feed it. If you decide to add a little flour and water that is fine too! If you do, cover the jar after you’re done and place it somewhere warm (away from the sun).
Day 5
On the fifth day, take off the cover and remove a heaping tablespoon of starter. Place the discard in a bowl, cover it, and reserve it to make cookies, flatbread or pizza crust. You can keep it in the fridge if you can’t use it right away. Add 1-2 heaping spoonfuls of cassava flour to your starter jar and add just enough water to easily stir the mixture. Cover your jar and return it to its warm cozy spot in your kitchen.
Day 6
Your starter might be close to being ready, but it can still benefit from another feeding to increase the bubbling activity. Remove one spoonful (heaping tablespoon) of the starter and keep it in a separate bowl for later. You can cover and refrigerate the discard (the portion you removed) if you’re not ready to use it. Next, add 1-2 spoonfuls of cassava flour to your jar with just enough water to stir the mixture. Finally, return the jar to its warm area in your kitchen or home until tomorrow.
Day 7
Your starter might be ready to use by day seven. Mine is often ready in about one week. Signs that your grain-free starter is ready: bubbles appear at the bottom or throughout, it smells pleasantly yeasty and sweet, the texture is light and not compact, the mixture should be creamy, not gritty, you can hear popping activity if you move the starter with a spatula.
Some get excited and try and use it sooner but from all my GF sourdough experience, waiting one week is the average minimum. Making bread too soon (with a starter that is not at its peak of activity) could result in a denser bread. If yours doesn’t look like in the pictures just yet, consider continuing the process for a few more days. If you’re excited to bake, a wonderful recipe to try is the Grain-Free Sourdough Pizza Crust—it’s good! Plus, it won’t matter if your starter is not super active.
Notes
*For this grain-free starter, cassava flour was my grain-free flour of choice. You can try chickpea flour (or other legume flour), green banana flour, buckwheat flour (if you consume it in your grain-free diet), or even a combo of coconut/cassava/tigernut flour.
I haven’t tried nut or seed flour or potato/sweet potato flour, but they are worth considering if you have these ingredients in your pantry. Again, combining a couple of grain-free flours might work better. The Grain-Free Plant-Based Guide includes more helpful ingredient information.
It is important to note that you decide to try something other than cassava flour, your timeline and outcome might differ.
**If you don’t have fresh pineapple, consider trying a different piece of organic fruit. I like using pineapple because it works well. Examples of other fruits: apple, a few grapes, even a squeeze of lemon juice can help. Another tip, if you don’t have fresh fruit, is to include a little bit (even as little as one teaspoon) of a gluten-free sourdough starter (brown rice or sorghum). If you have maple syrup, adding even one teaspoon could be an alternative. Doing so will boost the activity of your grain-free starter. Making a grain-free can work without adding fruit/fruit juices (or other) but it could take a little longer than one week to achieve a lively starter.
EXPERT TIPS:
Once you use some of your grain-free starter, don’t forget to feed it more flour and water to continue the process.
You can store your starter in the refrigerator in between bakes.
You might need to refresh your starter once you remove it from the fridge to get it active again to use in a recipe. The idea is to feed it again and give it time to get lively. If you haven’t fed it in a while, you might need to remove a spoonful before you feed it more cassava flour and water. Give it time, in a warm cozy spot in your kitchen to get active.
To keep your grain-free sourdough starter alive, even if it is refrigerated, you will need to refresh/feed it at least once per 1 to 2 weeks, even if you don’t plan to bake with it.
Trust your nose. If it smells awful, your starter might be bad. It might be best to start over. If it doesn’t smell right, you most likely won’t want to bake with it. A good active starter should have a pleasant, yeasty and sweeter aroma.
If you notice mold, it safer to start the process over in a new jar.
Once you have an active grain-free cassava sourdough starter, you can consider introducing another grain-free flour to the starter. It’s a great tip to know if you ever run out of cassava flour.
For additional gluten-free sourdough starter tips, you can watch my GF sourdough starter videos on YouTube or visit the gluten-free sourdough recipes on Fresh is Real. A lot of the information is similar and can be applied when making a grain-free sourdough starter.