

Have you ever wondered if it’s possible to make grain-free bread? This recipe post includes information to help you make a gorgeous nutritious yeast-free bread with notes for a beautiful sourdough version. Both are easy to make so I sure hope you give it try! If you have questions, ask them in the comments!

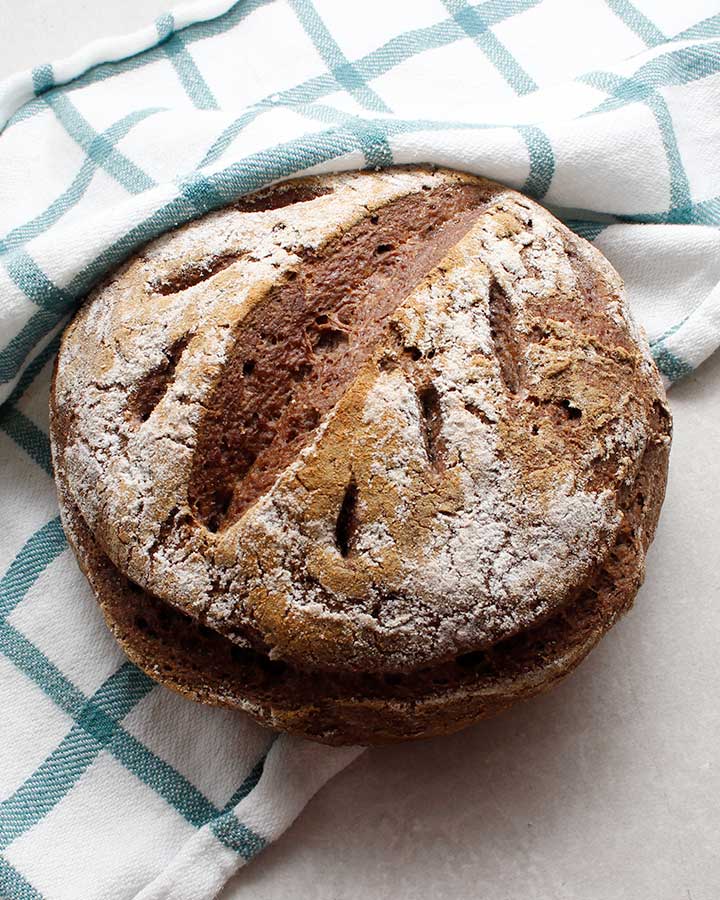
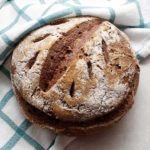
This grain-free bread recipe is the rustic loaf that will change your life! Be excited because it’s also gluten-free vegan, and free of nuts, yeast and gums! If you’ve just switched to a grain-free lifestyle and you have other specific dietary needs—this might be the perfect boule for you to bake!
Thank you very much to everyone that has been so kind in sharing some of their dietary requirements. All your input has helped to create this one-of-a-kind grain-free bread recipe! Go ahead and read the full post and to watch the how-to recipe video tutorial to help you make this nutritious and delicious treat!
How-To Recipe Tutorial

The Ingredients
After doing my research, and reaching out to my members and followers about the ingredients, I’ve come to realize that it’s common for people on a grain-free diet to also avoid yeast, eggs, dairy, nuts and gums.
The debate for including buckwheat flour in this recipe was ongoing, but after some deliberation, I came to realize that this pseudo-grain can be tolerated in moderation by many on a grain-free diet which is why I decided to include it.
If you avoid buckwheat, I would suggest increasing the other flours in the recipe to replace the buckwheat flour.
New Ingredients
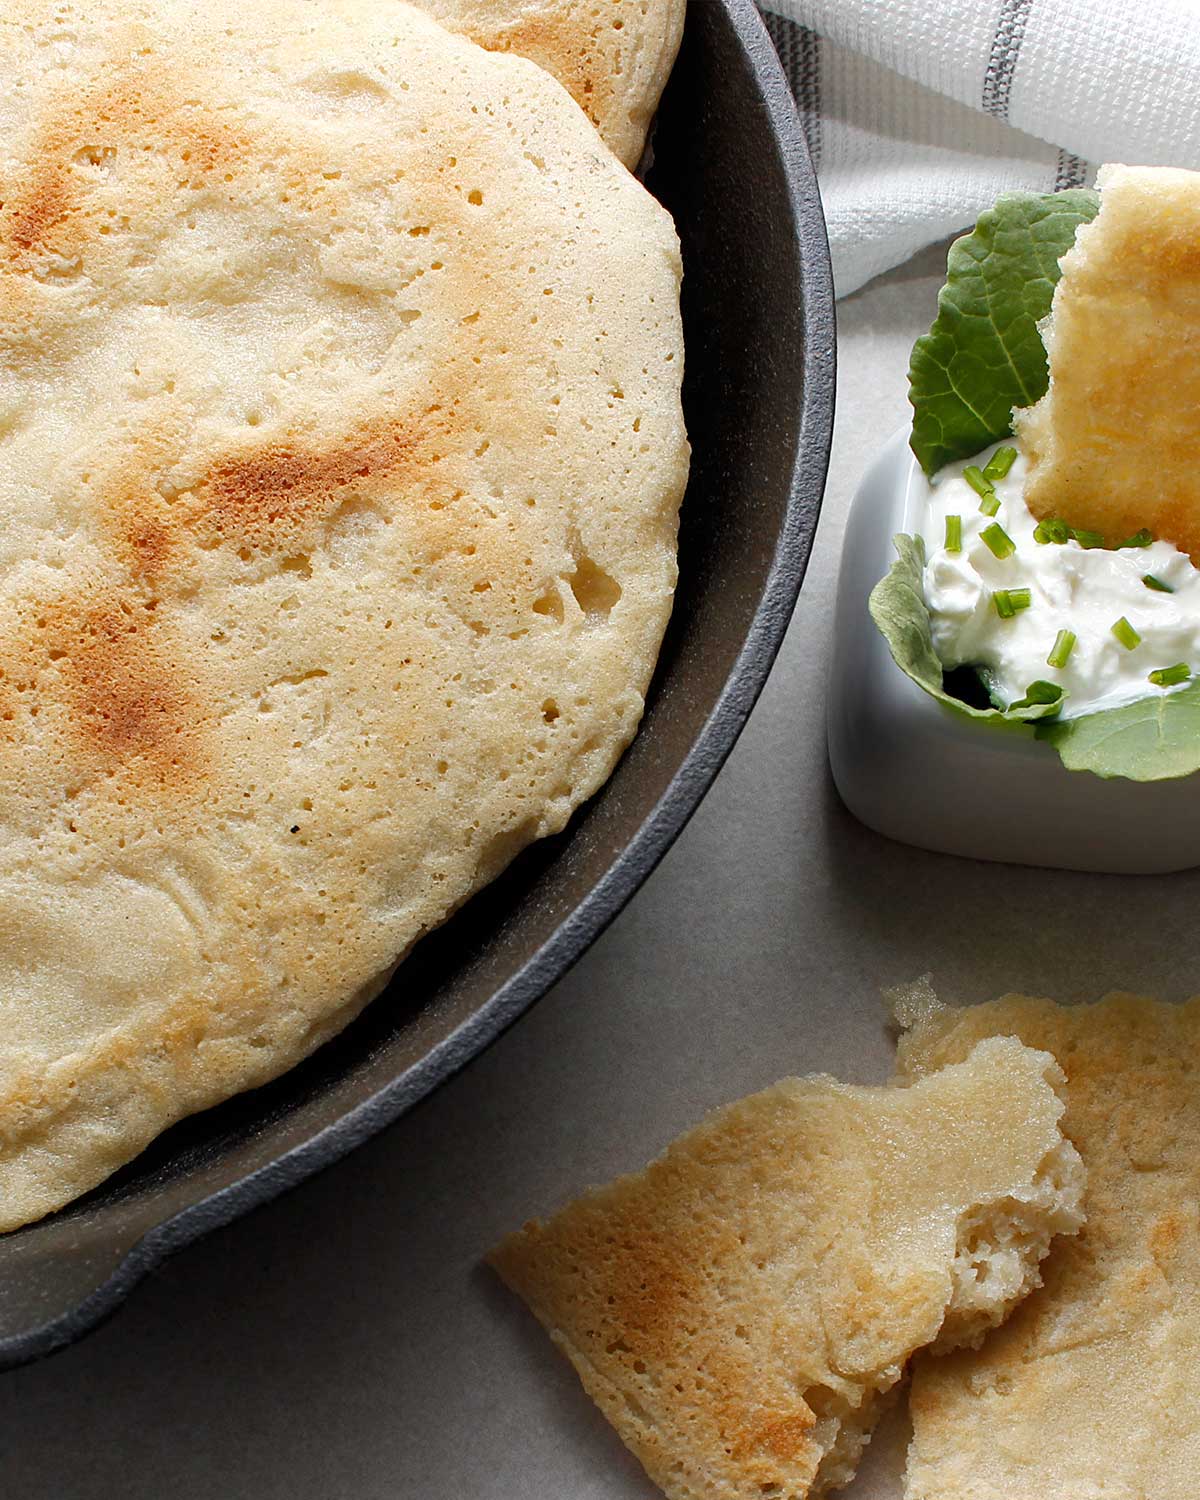
My challenge when creating recipes is always to make sure they are plant-based, allergen-friendly and nutritious. The addition of seeds in a loaf of bread is a bonus, as it helps to create wonderful flavours.
I’ve recently started experimenting with whole tiger nuts and tiger nut flour, and I have to admit that I really love these nutrient-packed tubers. That’s right, tiger nuts are not nuts! Whole tiger nuts make the best plant-based milk!
And, as for banana flour, sometimes labelled as green banana flour, I’m equally impressed. This terrific gluten-free, grain-free flour alternative is a great one to add to your pantry. It contains a great source of dietary fibre, can even help with colon health, and it’s a resistant starch—the better kind for your health.

Overnight Soaking
If you experience digestive troubles, like many of us do, soaking your dough mixture overnight can be beneficial. The method of soaking nuts, seeds, grains and flour combos will help to break down the ingredients, making it easier on your gut to absorb nutrients.
Refrigerating your dough mixture for twelve hours should be plenty. Please note that if you end up soaking the mix for a little less, or a few extra hours, because of time constraints (or because you’re excited to bake your loaf), it should be just fine.

Grain-Free Sourdough Option
| Sourdough Starter (Wild Yeast) I finally made this grain-free bread recipe with a GF grain-free sourdough. I did cheat a little; I took just a spoonful of my gluten-free brown rice starter (not grain-free) and fed it some light buckwheat flour to create a beautiful grain-free starter. If you want your starter to be entirely grain-free, start one from scratch. Here’s my recipe for a grain-free cassava flour sourdough starter. Maintaining a grain-free starter is more challenging. Grain-free sourdough starters, also known as wild yeast, are prone to getting mouldy much faster if not adequately refreshed or used regularly. They require more attention and care. You can take any of my gluten-free sourdough starter recipes and follow similar instructions to make a grain-free starter. Use them as a guide. |

| Ingredients For Sourdough Version Here’s the list of ingredients if you decide to make your grain-free bread into a sourdough loaf. The ingredients are almost identical except for adding 1/2 cup of grain-free sourdough starter. 1 cup organic green banana flour (100g) 3/4 cup light buckwheat flour (75g) 3/4 cup seed or nut flour* (65g) 1/2 cup tiger nut flour (60g) 1/2 cup arrowroot starch (50g) 2 tablespoons whole psyllium husk (14g) 1 tablespoon coconut palm sugar 1/2 tablespoon sea salt 1/2 cup active GF sourdough starter (130g) 1–3/4 water, room temperature (420g) 2 tablespoons GF baking powder** |
| Grain-Free Sourdough Bread Instructions Making the sourdough version of this grain-free bread is simple. In the evening, mix all the ingredients except for the GF baking powder, as listed in the recipe. Rest the dough in the fridge overnight, the same as without a sourdough starter. The following day, take the dough bowl from the fridge and let it come to room temperature for a few hours. Your dough might be a little stiff still, and that’s ok. Add the GF baking powder right into the bowl and mix it with your hands a little (smoosh it in). |
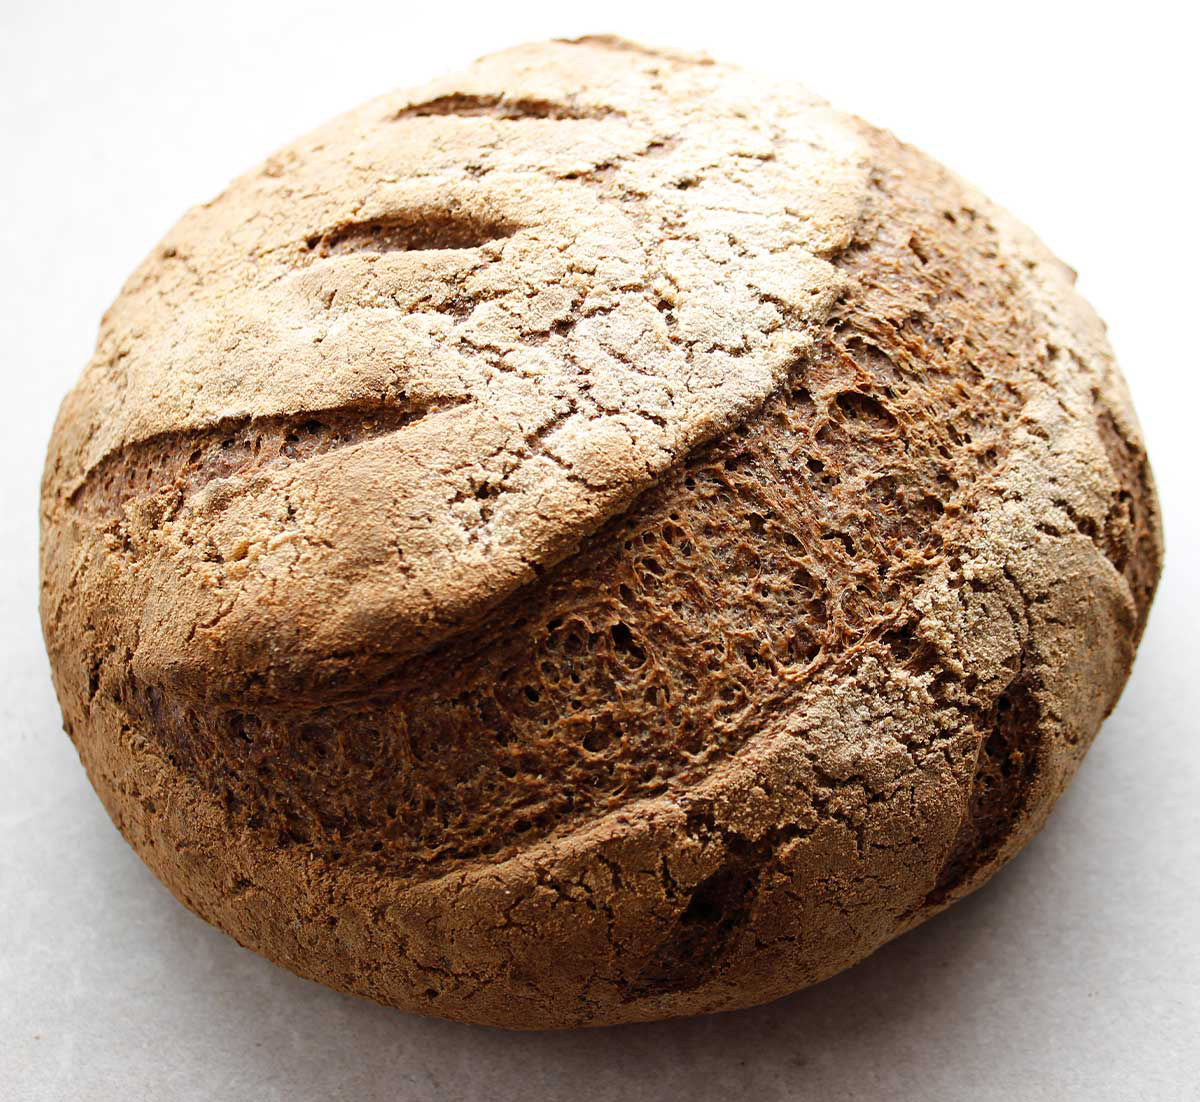
| Shaping The Dough Transfer the dough to a dusted work surface. I used the tiger nut flour to dust my table. Give your dough a few stretch and folds, then shape it with your hands. This grain-free dough is not the type that you need to knead. You want to help bring it together to create a nice dough boule. Once your dough boule is shaped, you can use tiger nut flour to dust your boule before baking. It creates such a nice, naturally sweet finish to the crust. |
| Baking Your Grain-Free Bread You can use a Dutch oven as listed in the original instructions. For my loaf, I tried without, and it worked equally well. I did bake with steam, which means placing a tray on the bottom oven rack and pouring a little water, or ice cubes, to create steam. If you bake without a Dutch oven, you’ll want to place your dough ball on a piece of unbleached parchment paper on a baking pan/cookie sheet. If you have a baking/pizza stone, you can also preheat it simultaneously and place it under the baking sheet when baking your bread. Whichever method or baking vessel you choose to bake with, the oven temperature should be around 450° F. You need to preheat your oven and baking vessels (not necessary for baking sheet) for 30-60 minutes before baking. You’ll be baking your loaf for about 1 hour. If using a Dutch oven, it will be about 25 minutes covered, 25 minutes uncovered, and up to 10 minutes directly on the oven rack. |
| Baking Setup Examples: | |
| Dough ball on parchment paper in a Dutch oven on a baking stone, middle oven rack | |
| Dough ball on parchment paper in a Dutch oven directly on middle oven rack | |
| Dough ball on parchment paper on a baking/cookie sheet on a baking stone, placed on the middle oven rack, with water/ice tray on the bottom rack. | |
| Dough ball on parchment paper on baking/cookie sheet, on the middle oven rack, with water/ice tray on the bottom rack |

The Magical Ingredient
You might be wondering if you can bake this loaf without baking powder. Well, the GF baking powder in this recipe is a magical ingredient. The gluten-free baking powder in this recipe includes: tapioca starch, cream of tartar and baking soda. This is the brand of baking powder I use. Sometimes I make my own.
In a pinch, you could probably omit the tapioca starch as the recipe includes arrowroot starch, but you would have to replace the cream of tartar with either apple cider vinegar or fresh lemon juice. The addition of a little baking soda might be necessary.
Baking this grain-free loaf without baking powder wasn’t tested. Once it is, I will add the details in this post to inform you of the outcome. I’m curious too, so it will be tested again at some point, as I bake this loaf very often—it’s that good! Just wait until you smell it baking!
I did test this loaf to include GF/grain-free sourdough starter. You’ll find the details for that a little higher in this post.
If you have the ingredients but have questions before you start, you can ask them in the comments below or join Fresh is Real’s GFV Baking Facebook group.
Questions Before You Start?
The best way to ask your recipe questions is in the comments of this post (scroll to the bottom) or the Facebook group.
The group is a great place to ask allergen-friendly baking questions, get tips, inspiration and share recipes! Join our amazing and friendly Gluten-Free Vegan Baking by Fresh is Real Facebook Group!

Previous Recipe
The last recipe on Fresh is Real was an easy Quick Sourdough Naan recipe! If you love to bake GF sourdough, you’ll surely want to try it!
Print
How to Make Grain-Free Bread
- Prep Time: 30 minutes (+12 hours soaking)
- Cook Time: 60 minutes
- Total Time: 90 minutes (+12 hours resting time)
- Yield: 1 loaf 1x
- Category: Bread, Sourdough
- Method: Oven-Baked
- Cuisine: Plant-Based, Grain-Free, Gluten-Free, Vegan, Nut-Free, Allergen-Friendly
- Diet: Gluten Free
Description
This rustic, gut-friendly, grain-free bread recipe will change your life! Mix, refrigerate, shape and bake! Gluten-Free & Vegan. Free of nuts, yeast and gums!
Useful Tools:
– oven
– oven-safe Dutch oven (optional)
– baking/cookie sheet if you don’t have a Dutch oven
– baking stone (optional)
– parchment paper
Note: If you can consume yeasted loaves prepared with wild yeast, use a grain-free sourdough starter as a leavening option. Read the complete recipe post for details.
Ingredients
- 1 cup organic green banana flour (100g)
- 3/4 cup light buckwheat flour (75g)
- 3/4 cup seed/nut flour*(65g)
- 1/2 cup tiger nut flour (60g)
- 1/2 cup arrowroot starch (50g)
- 2 tablespoons whole psyllium husk (14g)
- 1 tablespoon coconut palm sugar
- 1/2 tablespoon sea salt
- 1–3/4 cups water, room temp. (420g)
- 2 tablespoons GF baking powder**
Instructions
TIP: Soaking the dough mixture overnight (12 hours) is beneficial to break down the ingredients. Start this recipe in the evening.
Before you start, watch the How to Make Grain-Free Bread video tutorial!
- In a large bowl, sift and combine all dry ingredients—except for GF baking powder.
- Add 1 cup of water to start and mix until absorbed, add the remaining 3/4 cups of water and mix until well combined.
- Cover bowl and place in the refrigerator overnight for at least 12 hours.
- In the morning, remove the bowl from the refrigerator and let it come to room temperature (2 hours).
- When ready to bake, preheat the oven and Dutch oven (and baking stone)*** to 450° F (min. 45 minutes) on the middle rack.
- Uncover dough, loosen edges with a spatula, add GF baking powder, and mix in with hand(s) or spoon directly into the mixing bowl.
- Sprinkle the working surface with a little flour (I like to use tiger nut as it’s a little sweet).
- Remove dough from the bowl, sprinkle with flour and gently flatten with fingers to an approx. 8 x 10-in rectangle.
- Fold the dough in half, if the dough is very sticky, sprinkle with a little more flour, and fold in half again.
- Repeat this step (flatten to a rectangle, fold in half and half again) one to two more times until the dough comes together nicely.
- Tuck seams underneath to create a nice dough ball, dust with flour and place onto parchment paper.
- Cover with a tea towel for 15-30 minutes or until the oven is nice and hot (preheated for 45 minutes up to 1 hour).
- With oven mitts, remove the preheated Dutch oven from the oven—be careful it will be hot—and set aside. If baking on a cookie sheet, simply place your dough with parchment paper onto the middle oven rack.
- Uncover your loaf, dust with more flour (tiger nut if great) if necessary, score the top of your dough with lines or a simple pattern.
- Spray with a mist of water/olive oil (optional), transfer dough and parchment paper to Dutch oven or baking sheet.
- Cover Dutch oven and place in the oven onto hot baking stone—if you have one—if not directly on middle oven rack.
- Bake for 25 minutes covered, 25 minutes uncovered and 10 minutes directly onto the baking stone or oven rack without parchment paper. The baking time is the same if you’re baking on a baking/cookie sheet.
- Remove the bread from the oven and place it on a wire rack to cool completely.
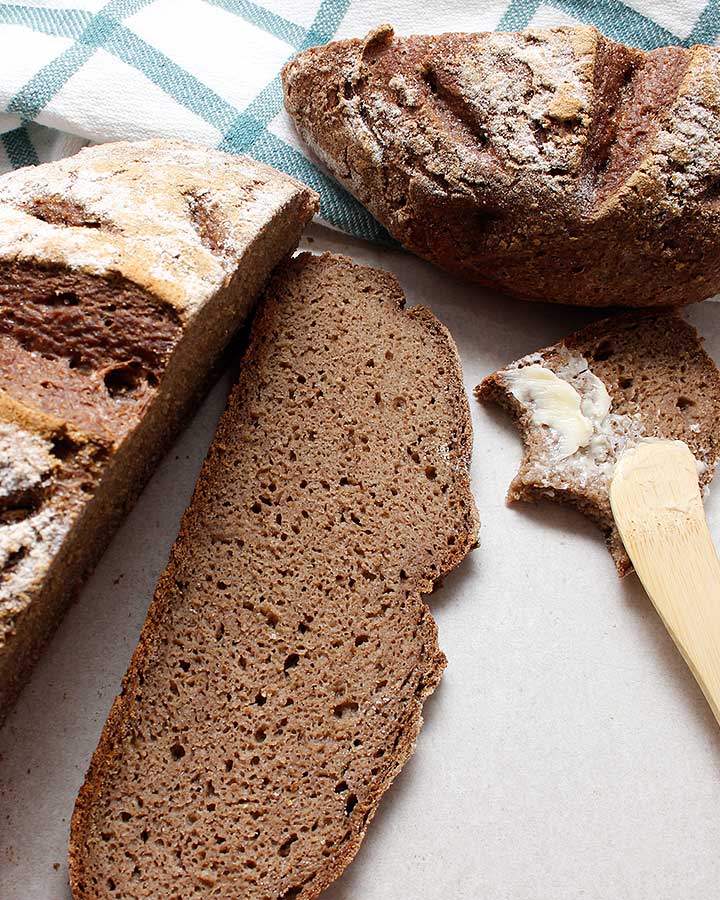
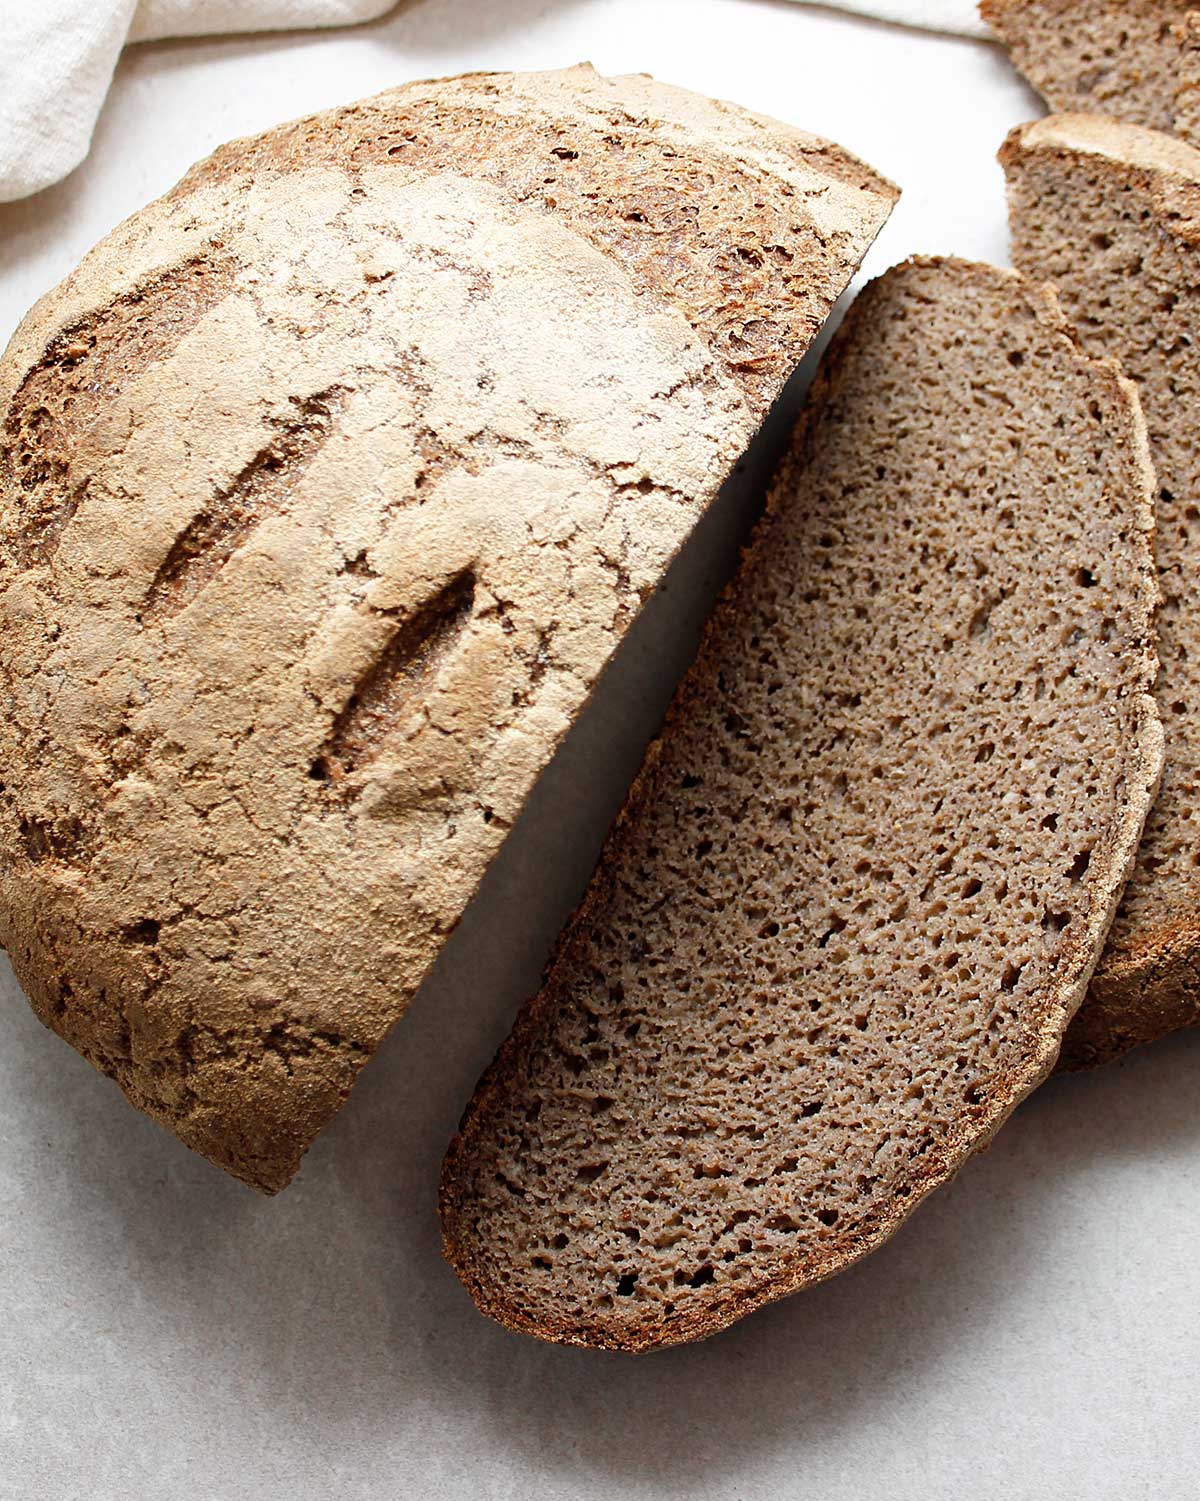
- Slice and enjoy! This bread is amazing fresh and delicious toasted with your favourite spreads.
Notes
The bread keeps well on the kitchen counter for one day covered with a tea towel and in the refrigerator in a sealed container for up to 5 days. Freeze leftover slices for up to 2 months.
* You can use a clean coffee grinder or dry container Vitamix to mill raw seeds or nuts (if not allergic) into a fine flour.
** This recipe includes gluten-free, aluminum-free, corn-free baking powder. Baking powder ingredients; tapioca starch, cream of tartar, baking soda.
***The baking stone is optional but great to use if you have one. It can help your loaf rise.
TIP: If the bread dents when touched, keep it in the oven for a few minutes longer. The loaf is ready once it sounds crispy and hard when tapped with a finger.
Find it online: https://www.freshisreal.com/how-to-make-grain-free-bread/