


Save time with this new gluten-free, vegan bread machine loaf recipe! The best part of this creation is not having to warm up your whole house by turning on your oven! It is ultimately the best way to bake in the warmer months!
Now, get your bread machine out of your pantry, dust it off and print out this recipe! It might become your new favourite go-to bread recipe!
If you know someone, with allergies or food sensitivities, that avoids the top allergens like egg, dairy and wheat/gluten, this recipe could be perfect for them! Please share it!

Gluten-Free Vegan Bread Machine Loaf
You might wonder why another gluten-free, vegan bread recipe—right? Well, the answer is simple. Everyone needs at least one fantastic bread recipe they can make over and over again. Plus not everyone wants to learn how to make more intricate recipes like sourdough bread.

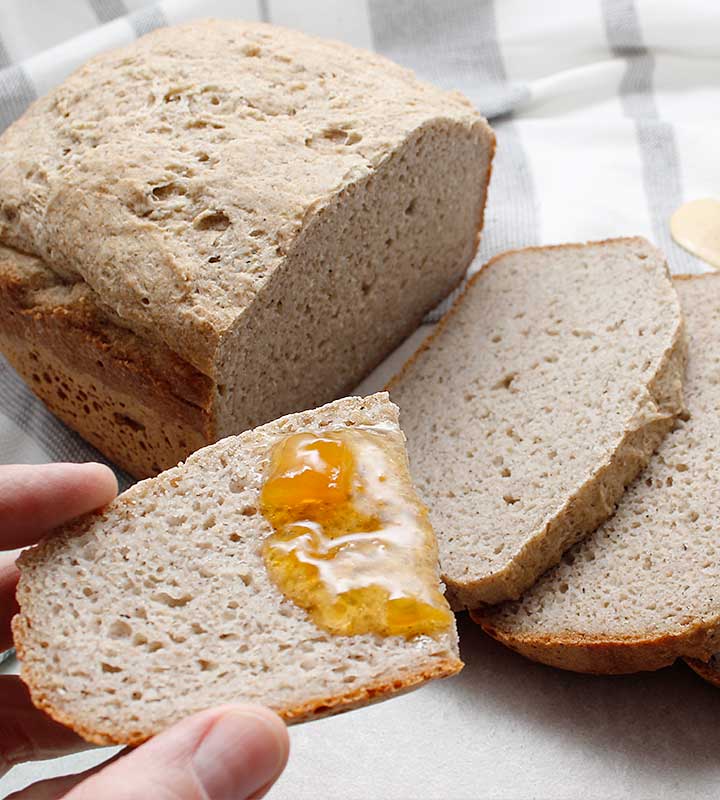
This particular creation is fantastic because you simply plop the dough in the bread machine pan and bake it! Of course, you will need to let the dough rise a little before doing so 😉 See the recipe instructions to read just how simple it is, or watch the YouTube video tutorial below!
Within 70 minutes of baking the mixture, you magically transform the dough into a no-fuss loaf that you and your family can enjoy!
Oven Baking Option
Can you bake this loaf in the oven? Yes, of course, you can! As one loaf, baked at 450° F in a regular bread pan, I’m guessing that it would take about 45 to 60 minutes to bake.
I haven’t tested this method with this bread recipe yet, if you do try it before I do, please let us know what worked for you in the comments below.
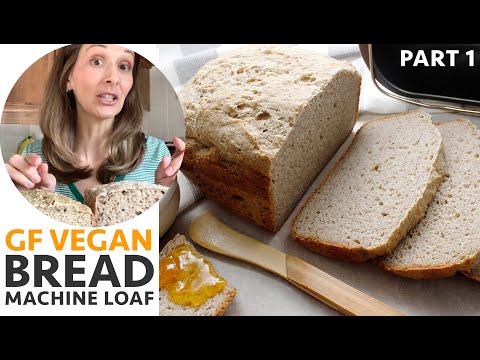
YouTube Video Tutorial – Part 1
Watch this video to see just how easy this recipe is to make!
The Best GFV Bread Machine Loaf
It’s fun to see the differences between the loaves that contain more yeast and water. The loaf in the middle is clearly too dry.
Please note that the addition of plant-milk (loaf on the left) really did improve the flavour of this bread recipe. Although, in a pinch, it could be made with just water and still be pretty good.

And, even though the loaf on the right looks like it would be the best, it wasn’t my personal favourite. It contained a little more water and felt slightly gummy and was a tad under-baked. This was the only loaf that was set on the whole wheat setting (mix/rise/punch, etc.), as opposed to only being baked in the bread machine.
The loaf on the left was the winner in my opinion. It had just enough hydration, wasn’t gummy at all, tasted amazing and baked up beautifully every single time I tested it!
Bonus Video – Part 2

Bread is Life!
Most people we know enjoy bread daily, in some shape or form. For many—Bread is Life! Many types of doughs are beautifully baked and gobbled up all around the world each and every minute! For some, it is the vehicle for each meal, it’s used to wrap, scoop and dip—bread is so perfectly versatile!
But imagine if all of a sudden you or a loved one couldn’t eat bread anymore! Well, at least that’s how you might feel when initially recommended stopping the consumption of gluten/wheat or other top allergens.
If you’re reading this now, this might apply to you because of allergies, food sensitivities, celiac disease, autoimmune diseases, or simply to improve other health conditions.
Don’t worry, eventually, when you feel better, there are often other bread-like options that can be considered—just like this recipe. And, if this one doesn’t work for you have a look at the other bread recipes on Fresh is Real.
More Bread Recipes
Fresh is Real is known for its allergen-friendly bread recipes just like the ones listed below. Some are grain-free, rice-free, yeast-free but if you can’t find what you’re looking for, please reach out to me and let me know as I would love to create one just for you!
- Yeast-Free GFV Bread
- Basic Yeasted Dough GFV
- Buckwheat Sourdough GFV
- Simple Sorghum Sourdough GFV
- Grain-Free Bread GFV
Beginner Recipe
If you’re familiar with Fresh is Real, you might already have seen some of the sourdough recipes on this blog. Even though gluten-free, vegan sourdough recipes are amazing, they can be intimidating to some to try.
This beginner recipe bread machine loaf will be simple to prepare and bake. You basically have to mix all the ingredients together, let the dough rise for a few hours and then you will use your bread machine for baking the bread. And that’s it!
Another Breadmaker Recipe
I did find another Gluten-Free Vegan Bread Machine/Breadmaker recipe by the Free Form Fairy that you could try! It includes similar ingredients.
Recipe: freefromfairy.com/gluten-free-vegan-bread-recipe-for-a-bread-maker/
Questions Before You Start?
The best way to ask your recipe questions is in the comments of this post (scroll to the bottom) or the Facebook group.
The group is a great place to ask allergen-friendly baking questions, get tips, inspiration and share recipes! Join our amazing and friendly Gluten-Free Vegan Baking by Fresh is Real Facebook Group!
Previously on FiR
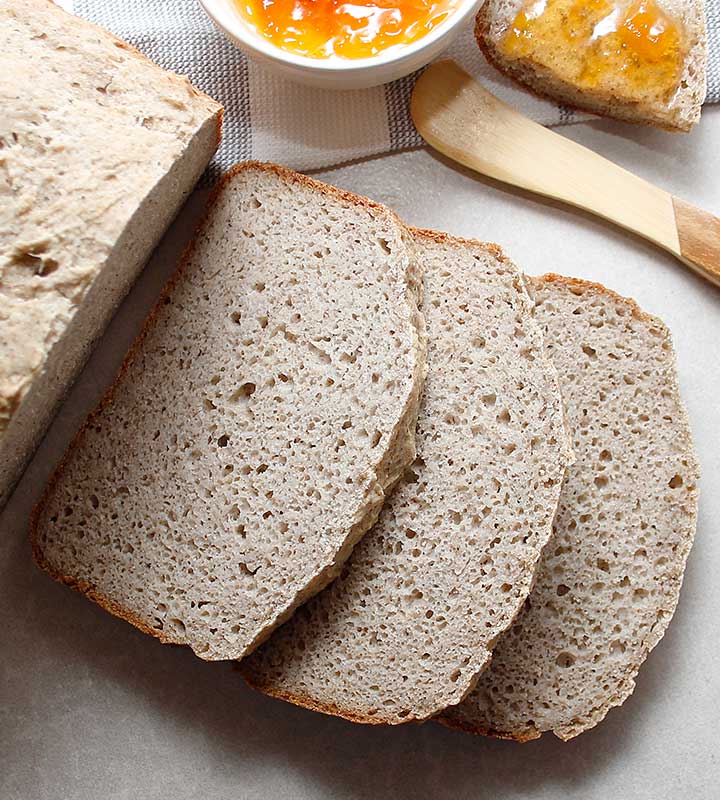
If you haven’t seen it yet, have a look at my Avocado Dip recipe! Print it out now, as you will want to make it for any special occasion that requires a creamy nutritious dip. It’s also an amazing dressing and vegan mayo.

This is a safe dip/mayo/dressing recipe to make for anyone avoiding the top allergens.
| 👩🍳 🍞 Good Food Cooking School 🥖🍪 | |
| If you’re interested in learning more about gluten-free baking, check out the Good Food Cooking School courses taught by cookbook author Heather Crosby from YumUniversity. I took the Bread Baking and the Classic Cookies 101 course a while back, and it’s what got me hooked on my baking journey. Take a tour to see if her baking courses are right for you! |
Did You Make This Recipe?
Once you try this recipe, remember to take a picture and share it with us on Instagram Tag it @Freshisreal_ #freshisreal


Fresh is Real’s Amazon Storefront
Visit my Amazon Storefront to search for and buy baking and kitchen staples! Take Me Shopping!
ALLERGEN NOTICE: Make sure the ingredients you purchase are prepared in a facility free from the top allergens you avoid. Gluten-free products should be certified GF and clearly labelled. Consult your medical professional with your dietary questions. Even certified gluten-free ingredients such as GF oats, corn, seeds, etc., can create health problems for individuals following a GF diet. Always consult a medical professional if unsure about ingredients for your needs.
Print
Gluten-Free Vegan Bread Machine Loaf
- Prep Time: 15 minutes
- Cook Time: 70 minutes
- Total Time: 1 hour + 25 minutes (+ 2 rising time)
- Yield: 1 loaf 1x
- Category: Bread
- Method: Bread Machine
- Cuisine: Gluten-Free, Vegan, Plant-Based, Allergen-Friendly
- Diet: Gluten Free
Description
A perfect egg-free, gluten-free, dairy-free and allergen-friendly bread machine recipe that will make prepping and baking your next yeasted loaf a breeze!
Keep in mind that all bread machines are different, so you might have to play around with your settings. In all the methods I’ve tested using the bake only setting on mine created the best loaf!
You won’t need the bread machine mixing paddle for this recipe. Only use the bread machine for baking your loaf.
Ingredients
1 cup buckwheat flour (120-130g)
1/2 cup white rice flour (70g)
1/2 cup brown rice flour (70g)
1/2 cup tapioca flour* (60g)
1/2 cup potato starch (70g)
1/2 cup seed or nut flour** (50-60g)
1/2 tablespoon fine grey sea salt (8g)
1 tablespoon organic coconut palm sugar (or maple syrup) (10g)
2 tablespoons whole psyllium husk (14g)
2 teaspoons active yeast (10g)
1 cup warm water*** (240g)
1-1/4 cup homemade hemp milk**** (300g)
Instructions
Step 1
Before you start, you can watch the bread machine loaf video tutorial. And, make sure to measure and sift all the dry ingredients before you begin. This step is essential to avoid little clumps of starch or flour in your loaf.
Step 2
Combine the warm water, yeast and psyllium husk in a large bowl and gently mix. You can wait 5 minutes or proceed to add in all the remaining dry ingredients. Again, to make sure that all your ingredients are well sifted, you can place a sieve over top of your mixing bowl and, one at a time, add the dry ingredients. Remove the sieve and gently mix the ingredients. Add 1 cup of hemp milk to start and continue to mix until all the dry and wet ingredients are well incorporated. We don’t want to leave any dry bits of flour at the bottom. Add remaining 1/4 cup of hemp milk if your mixture is still a little dry. Finish mixing until well mixed in.
Step 3
You can let the dough rise directly in the mixing bowl (that’s what I prefer) or transfer the mixture to the bread machine pan. Make sure to scrape down the sides of the bowl, cover your bowl and let the dough rise in a warm area for 2 hours or until the dough has grown to over an inch in height or even doubled in size.
Step 4
Once ready to bake, gently transfer the dough to the bread machine pan, if it isn’t already, and bake it for at least 1 hour and 10 minutes. You will use the bake-only setting on your bread machine.
Step 5
Your machine should beep when the loaf is done baking. Once the bread is ready, you will need to remove it from the pan and let it cool completely for a few hours on a cooling rack. Slice and enjoy!
Storage Tip
Once cooled, this loaf will keep well wrapped in a clean tea towel for one day. You can slice and store the rest in the refrigerator for up to five days or freeze the leftovers to save them for longer.
Notes
*Arrowroot starch flour is an excellent substitute for tapioca flour.
**I’ve tested organic raw sunflower, pumpkin, and Baru seed flour and have also tried almond meal flour. Only use almond flour is you are not allergic.
***For the best bread, please use non-chlorinated water. Filtered and spring water works best.
****You can try other kinds of plant-based milk. I often use hemp milk as it’s allergen-friendly and a wonderful 2-ingredient homemade milk. To make your own hemp milk, combine 1/3 cup of organic hemp seeds with 1-1/4 cups of water and blend in a high-speed blender until white and frothy. Pour the hemp milk through a mesh bag or fine mesh sieve to remove larger unwanted bits.